I’m going to hazard a guess and say that everyone whose friends or family have ever flown on a plane, have used Flightradar24 — a free and convenient service for tracking flights in real time.
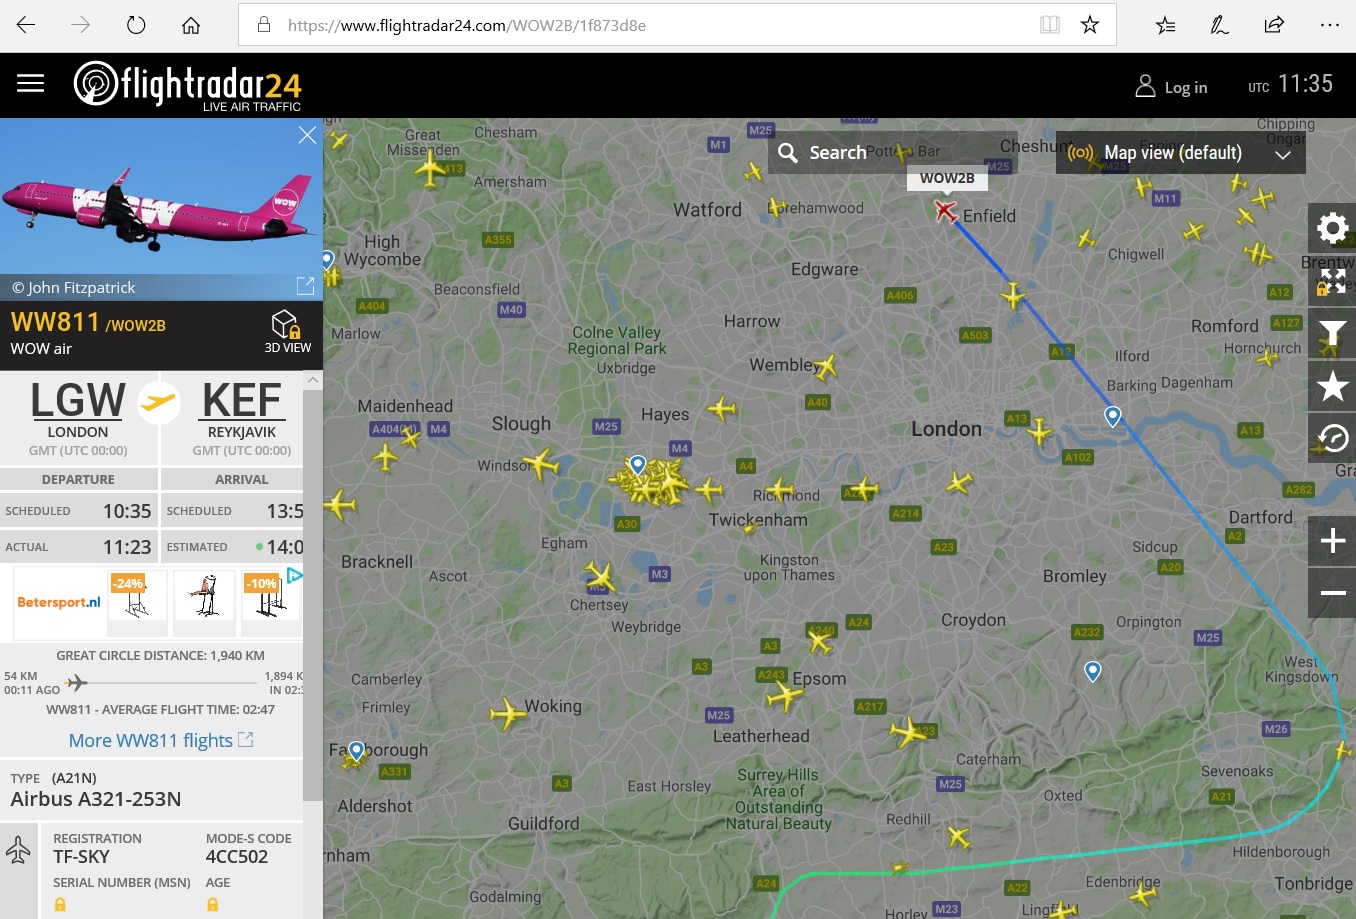
But, if my friends are any indication, very few people know that the service is community-driven and is supported by a group of enthusiasts gathering and sending data. Even fewer people know that anyone can join the project — including you.
Let’s see how Flightradar and similar other services works.
Hardware
The first question is always “where the data comes from”.
Every civilian airliner is equipped with a special device — the so-caller ADS-B (Automatic Dependent Surveillance-Broadcast) transponder, on the photo, is a box with a «1200» label on it:
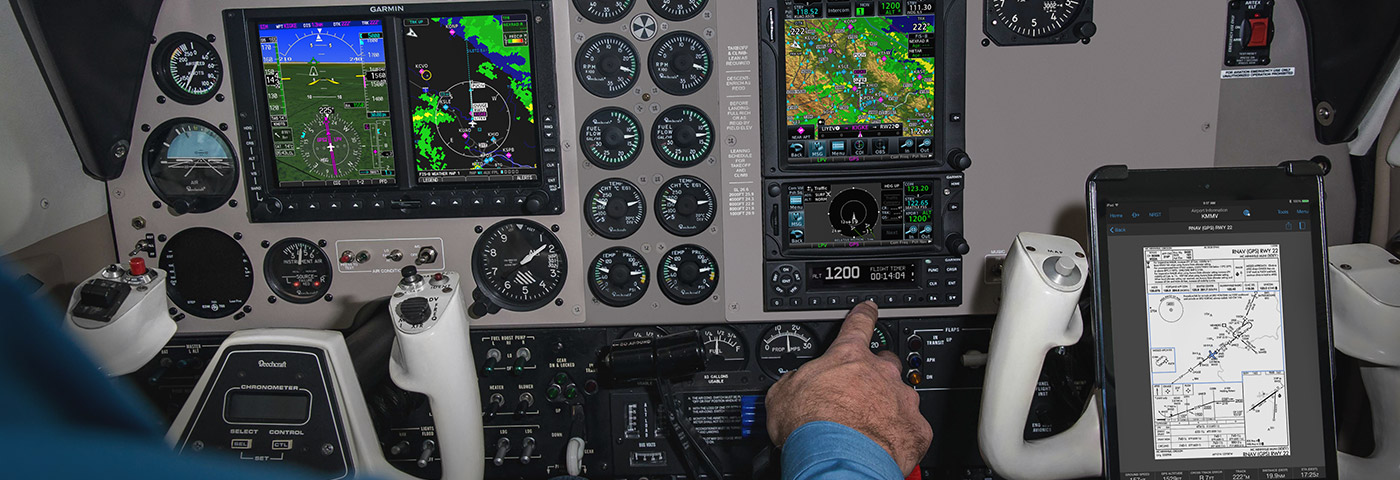
(photo from Garmin)
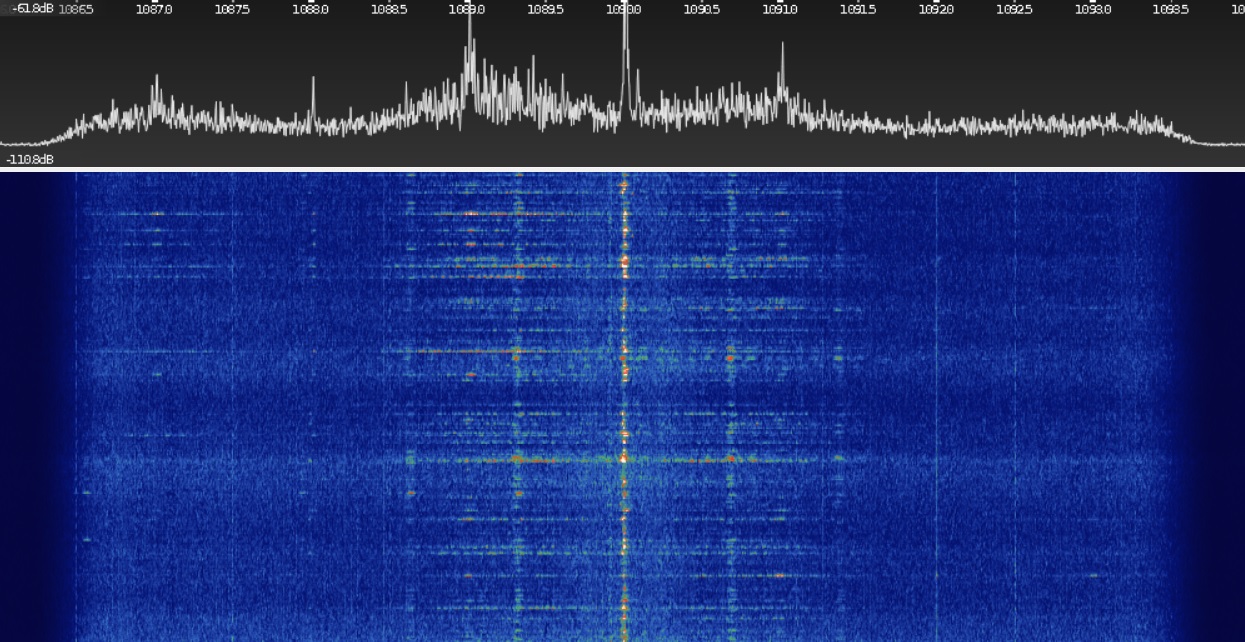
This transponder sends various flight telemetry — airplane type, its coordinates, destination etc, using the 1090Mhz unencrypted radio frequency.
That’s how the signal looks:
And this is a data structure:

The signal is transmitting with a high speed 1MB/s, so it takes only 0.00012sec to transmit the data, in the speaker we can hear only a very short 'click', if we'll try to listen this. But with the proper hardware the signal is very easy to decode. All we need is an RTL-SDR receiver (that costs around $15) connected to a PC.
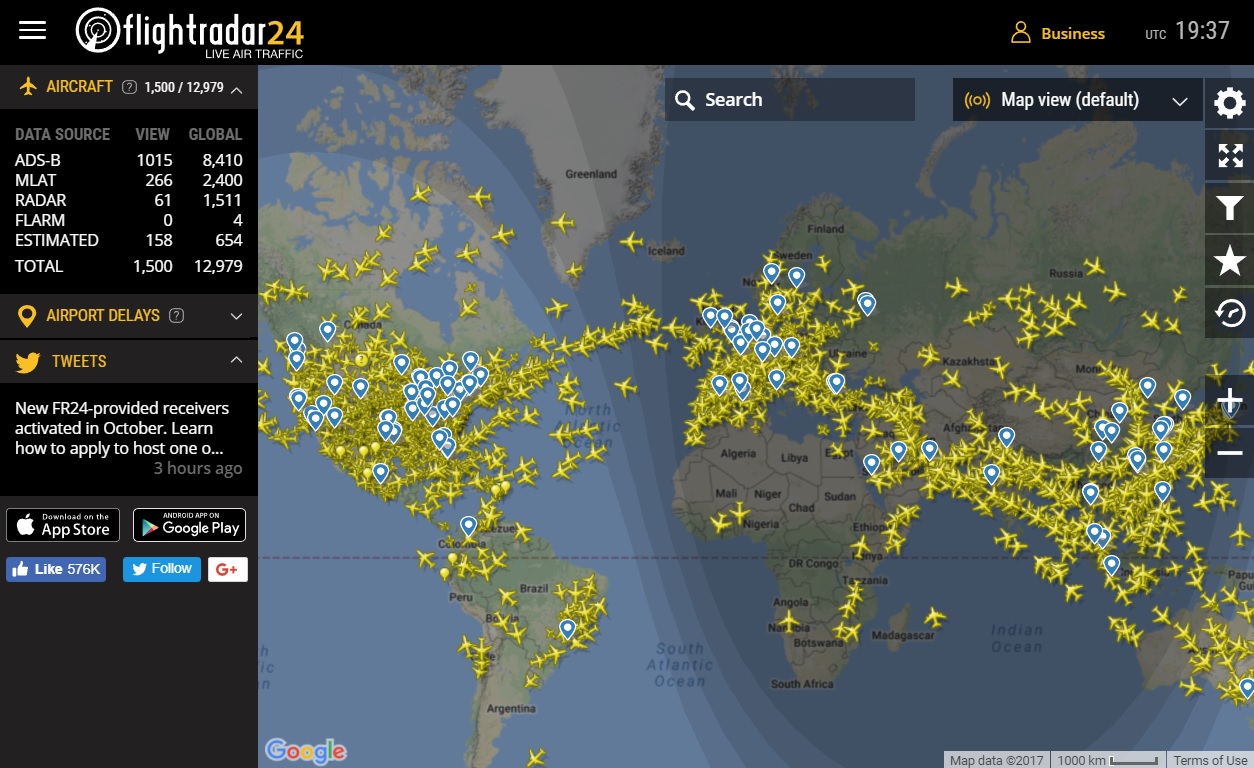
The idea is pretty clear by that point — if you have a lot of receivers and gather data from all of them, you can see this:
And that’s not all. Some planes transmit telemetry packets without GPS coordinates. But if you receive data from a lot of planes that do broadcast their location, then you can triangulate the position of the unknown aircraft by analyzing ping delays from different receivers. The technology is called multilateration (MLAT) and you can learn more about it here.
And finally, the last question — how do this services actually receiving the data. With the equipment being pretty cheap (from $50 to downright free), anyone can send it. Flightradar is not publishing their coverage, but we can see the receivers map of another 'competitor' service — Flightaware.

As we can see, some countries are covered very sparsely, so some contributions can actually make a difference.
Let's get started!
Install
To set it up you need:
- Raspberry Pi2/3 with an Internet connection (starting at $20)
- RTL-SDR dongle (from $15)
- A simple antenna made from 2 wires 6.8cm each (1090MHz 1/4 wave dipole).
You would want to set everything up in a place with clear view of at least part of the sky, since signals of that high of a frequency get absorbed by things like houses or trees.
I already had both the Raspberry Pi and the dongle, so I was ready right away, but Flightradar and Flightaware actually send kits for free to users, from locations they don’t have good coverage of. Everybody can send a request to Flightradar or to the Flightaware, though obviously people from remote areas have a higher chance of approval. But my personal opinion, that its better to have own receiver, and to be free to do what you want, to send data to any service, you want, and so on (there are some limitations for people who got receiver for free, as example, they cannot send data from it to a competitor service). And 20-30$ is not such a big value anyway.
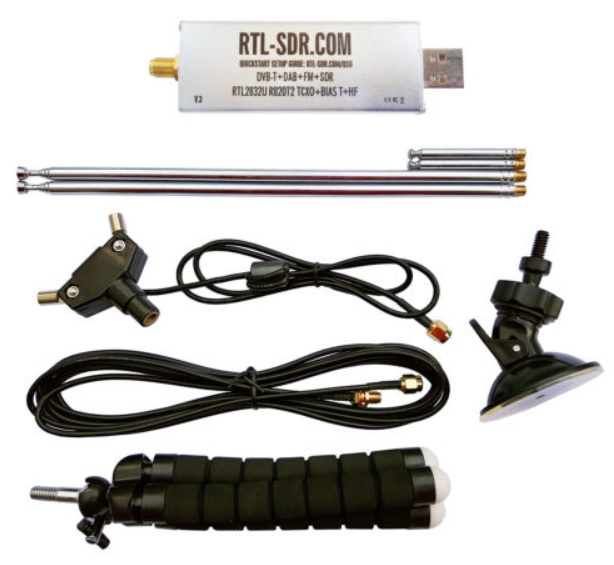
I used the RTL-SDR V3-based kit from China, which came with an antenna and a mini-stand. It cost me $27 with free shipping, for all this stuff:
By the way, as another incentive to encourage people to join, Flightradar24 and Flightaware offer free premium accounts, unlocking all of the website’s functionality (that normally costs $50 a month). So if anyone really gets a lot out of the service, installing the receiver lets you use it much cheaper.
Run
Installation is pretty easy. You just need to connect Raspberry Pi to a receiver and execute this prompt:
sudo bash -c "$(wget -O - http://repo.feed.flightradar24.com/install_fr24_rpi.sh)"It will request the data necesary (coordinate, receiver type, email address) and then the software works on its own — no further action from the user needed. Once that’s done, you can set up a premium account here and immediately get to use premium functionality.
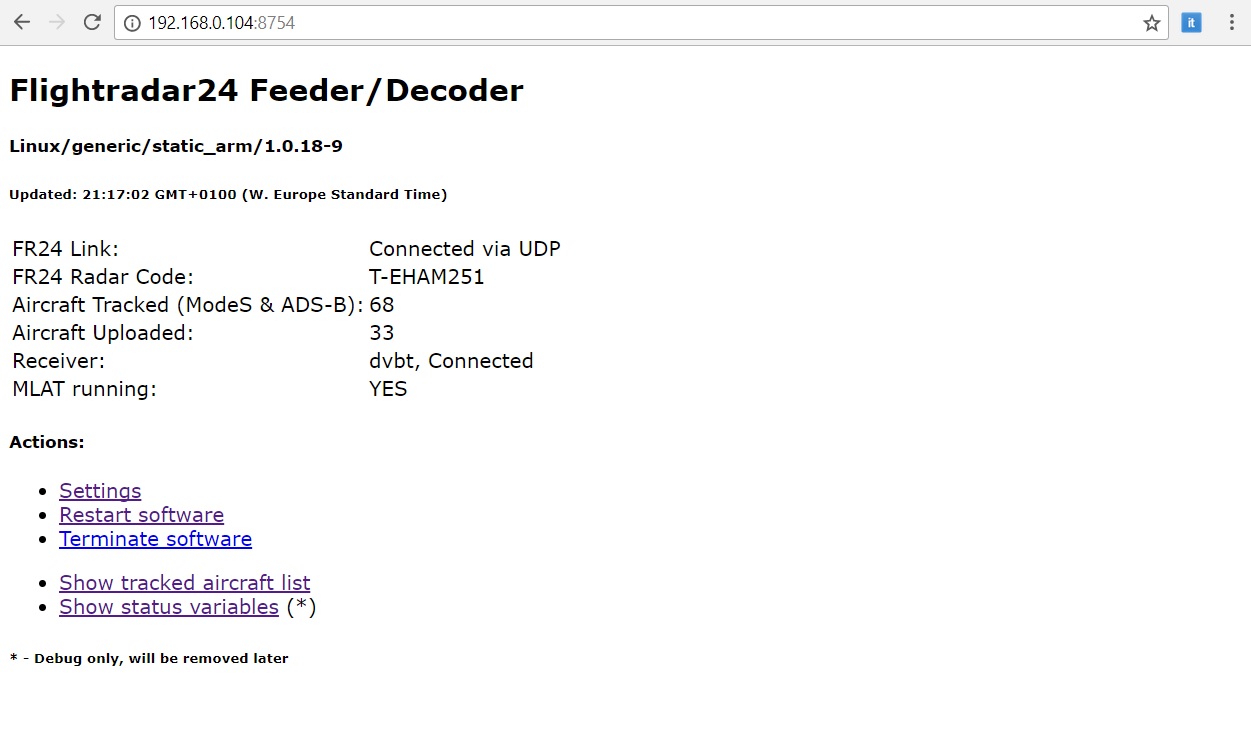
If you go to the Raspberry Pi’s IP address, you’ll see its status:
Flightradar’s account page reveals a lot more information:
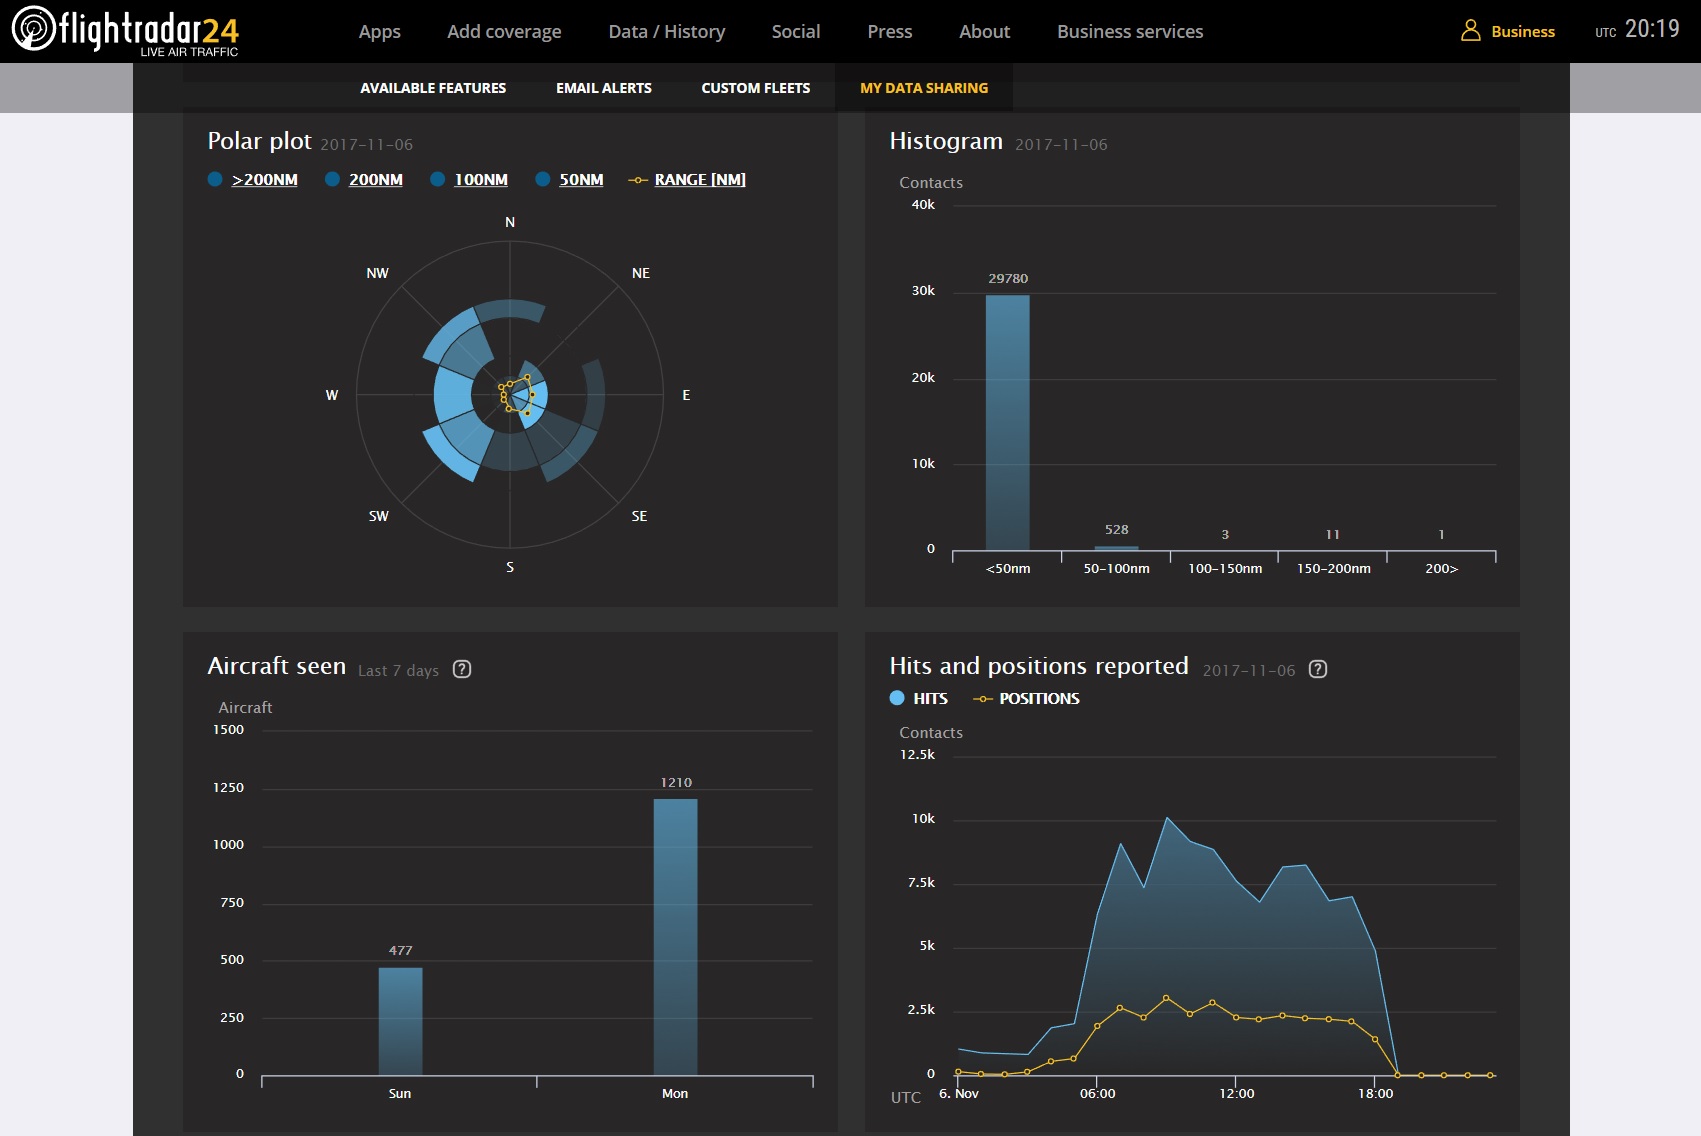
I live on the 6th floor of a building near the airport, so even my simple antenna mounted near the window, caught almost 1000 planes in a day. And its range seemed to be around 215 miles — again, not bad for a setup that cheap. Various setups could be found on Ebay, just search “ads-b antenna”.
Alternative solutions
Bonus for those whose attention span is long enough to reach that point. Some readers might ask — is there a way to avoid third-party services like Flightradar entirely? Of course there is — you can run the decoder on the Raspberry Pi locally. The source code is published on github (https://github.com/antirez/dump1090).
All you need is to enter these 3 commands:
git clone https://github.com/antirez/dump1090.git
cd dump1090/
make
And then launch the decoder:
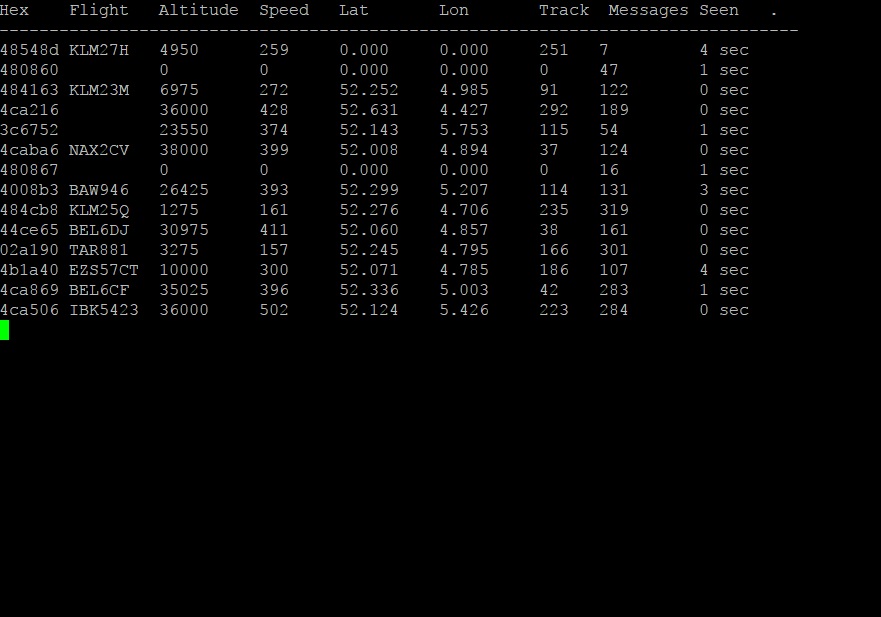
./dump1090 --interactive --netThe decoder gets to work, and we see “raw data” — a list of visible planes:
You can also log into the Raspberry Pi with a browser and see your own, local «Flightradar». It looks something like this:
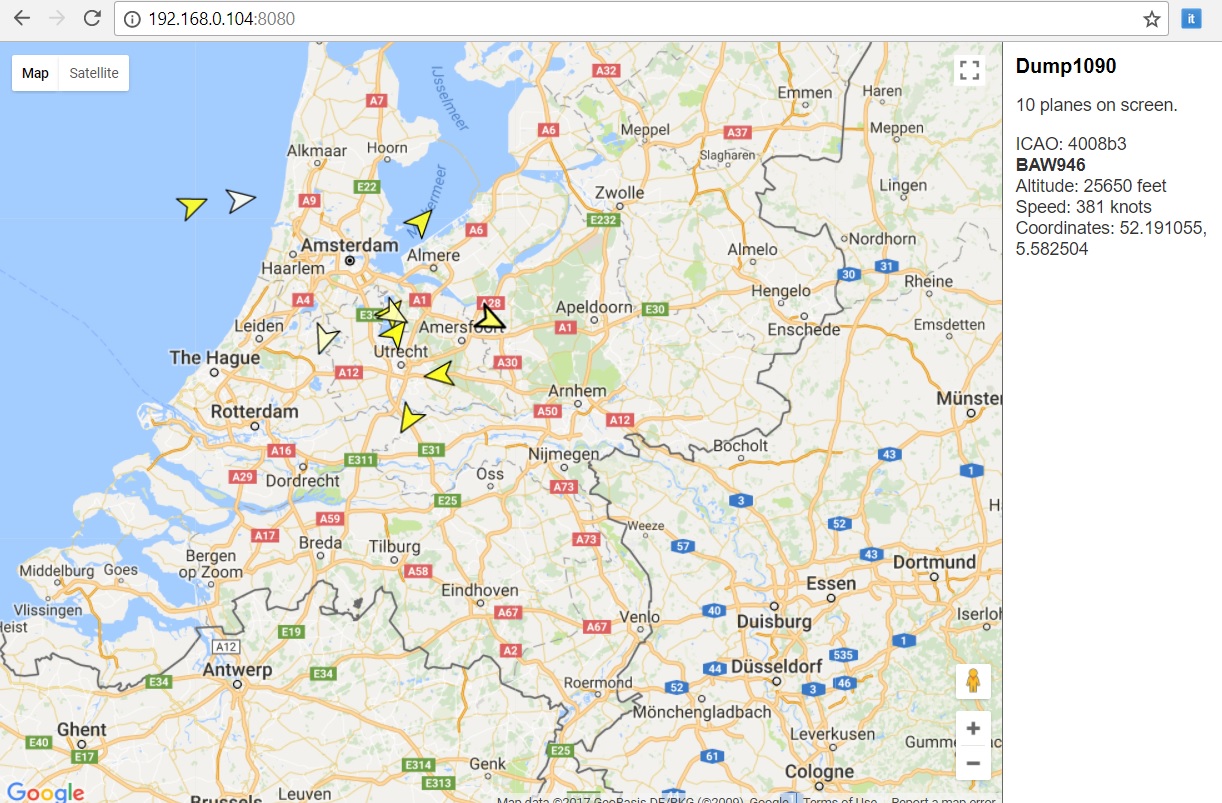
Why would you need that? Well, just for thrills, but also Flightradar24 censors some of the data, not showing some of the planes (for example, military, government aircrafts or business jets). If you launch your own station, you see everything — even censored stuff, although your data set will be limited by your location and antenna quality, and you won’t have access to MLAT. Again, the source code mentioned above lets you create your own Flightradar, with blackjack and all the bells and whistles you would want.
Conclusion
As we can see, it’s an involving, inexpensive and rather simple experience. Just for comparison: 10 years the Airnav RadarBox receiver cost around $1000, now the RTL-SDR, that does exactly the same thing, can be had for $10.
In my case, the receiver didn’t have any practical purpose, since Flightrader’s coverage in Europe is nearly complete anyway. But those living in the wilderness can genuinely help out air travelers from all over the world, extend the coverage map and even get a premium account for your troubles.
Автор: DmitrySpb79
